Products
Solutions
Resources
9977 N 90th Street, Suite 250 Scottsdale, AZ 85258 | 1-800-637-7496
© 2024 InEight, Inc. All Rights Reserved | Privacy Statement | Terms of Service | Cookie Policy | Do not sell/share my information

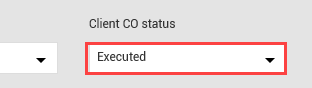
Once the change order is finalized with the client, you can change the CCO status to Executed.
An Executed change order document type must be uploaded as a supporting document prior to changing CCO status to Executed.
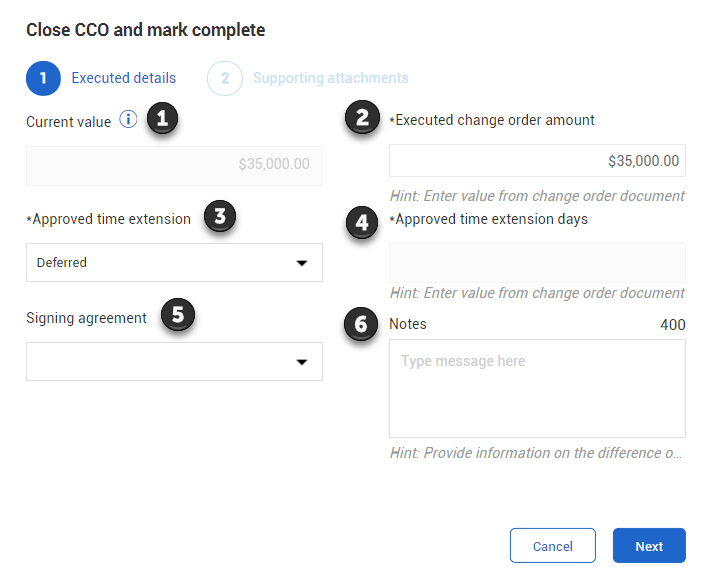
When the CCO Status in the CCO Details Header is changed to Executed, the Close CCO and mark complete window appears for final closeout of the change order
When the CCO is closed, it is sent to the Change Register of InEight Control to make a contract adjustment for cost, revenue, and man-hours, using the details and values entered in the CCO in Change Management
With Client Change Orders you can turn on the workflow to send the CCO through an approval process before execution is complete. This is similar to the issue approval workflow.
Once a CCO is completed (and workflow is turned on) the Submit CCO for approval button shows up in the top left corner.

Click the button to send an approval request to whomever is set up as the approver in the Project Settings. To get to the CCO Workflow settings go to Project Settings > Change > Workflow > CCo Approval Setup and then turn on or off the approval step.
|
Title |
Description |
|
|---|---|---|
|
1 |
Agreed Change Order Amount |
Pulled from CCO Pricing Grand total. |
|
2 |
Executed Change Order Amount |
|
|
3 |
Approved Time Extension |
|
|
4 |
Approved Time Extension |
|
|
5 |
Signing Agreement |
|
|
6 |
Notes |
Free text entry |
Executed CCOs can be switched back to In Review with applicable permissions.
After a CCO is executed, the status changes to Executed in the Issue log, PCO log, and CCO log, and all associated issues and PCOs are locked and cannot be edited, with the exception of a temporary vendor. See Edit vendor information for information about editing a temporary vendor.
When a cost item is associated to an executed CCO, you can view details of the cost item by selecting it and then clicking the Edit icon. The resources details and cost categories are shown but are read-only.
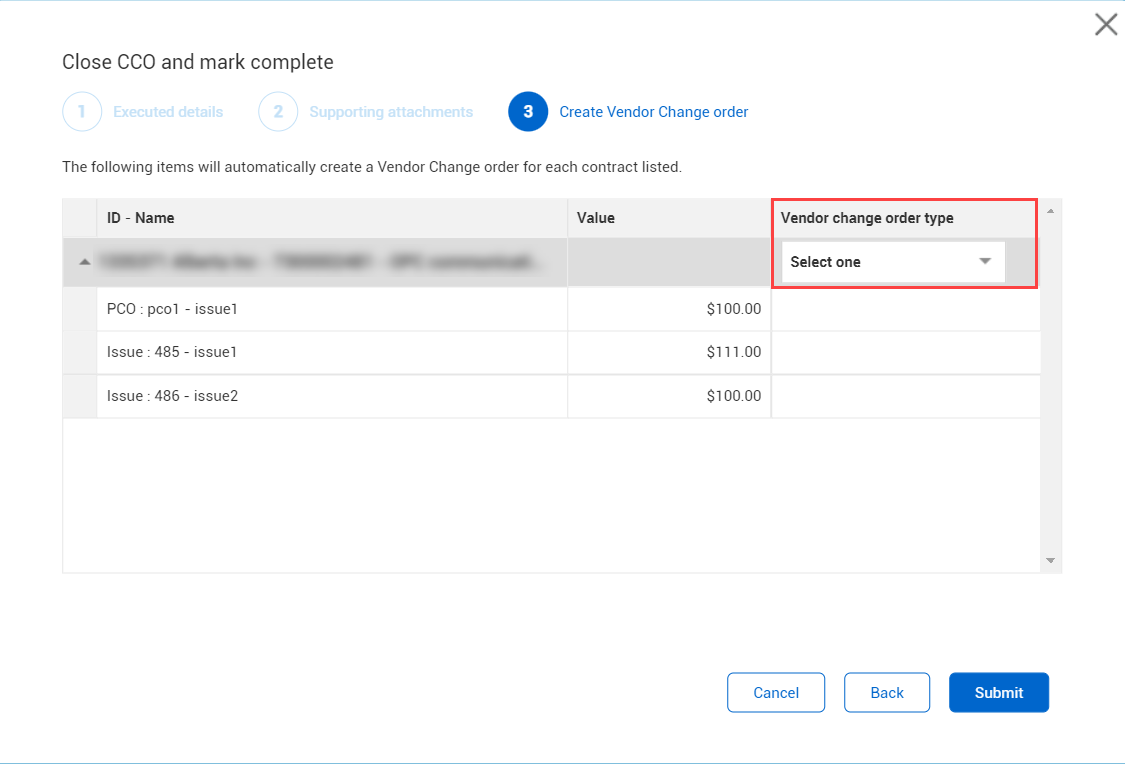
You can configure Change to automatically create a vendor change order (VCO) in InEight Contract for any pricing items that are not already associated to a VCO. When the setting (Settings > Change > Configurations > Pricing configuration > Vendor change order configuration) is set to Yes, Change creates the VCOs upon execution of the CCO. You are prompted in the CCO Execution wizard to select the vendor change order type. After the CCO is executed, the VCOs are in Contract with Service Account as the Created by name. When the project setting is set to No, you must create the VCOs manually in Contract.
Summary: Execute a CCO when the change order is finalized with the client.
Considerations: If the Vendor change order configuration setting in the project settings Configurations (Settings > Change > Configurations > Pricing configuration > Vendor change order configuration) is set to Yes, Change automatically creates a vendor change order from the executed CCO.
Quick steps:
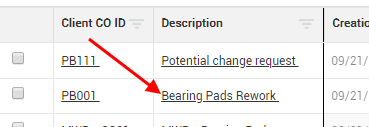
From the CCO Log tab, select the change order.
Select the Supporting Documents tab.
Click the Add supporting documents icon, and then add a supporting document with the type Executed change order
In the CCO header, change the CCO status to Executed. The Close CCO and mark complete window opens.
Complete the required fields.
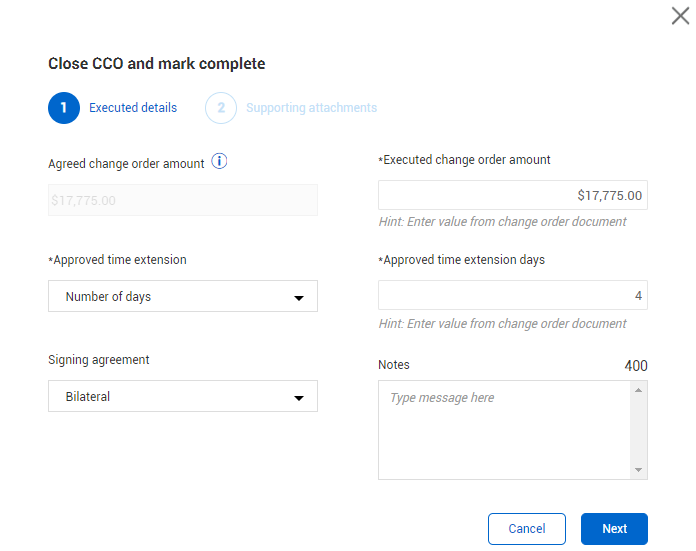
Click Next.
Review and confirm the correct Executed Change Order document is attached to the CCO. If it is not attached, you can attach it in the wizard.
Click Next.
Select the Vendor change order type for the pricing items that are not yet assigned to a VCO.
Click Submit. Upon successful completion, the CCO is pushed to the Control change register.
What's next: If Change is configured to automatically create VCOs, the VCOs are created in Contract for the pricing items. If Change is not configured to create VCOs, you can associate the CCO to a VCO in Contract.
Additional Information
9977 N 90th Street, Suite 250 Scottsdale, AZ 85258 | 1-800-637-7496
© 2024 InEight, Inc. All Rights Reserved | Privacy Statement | Terms of Service | Cookie Policy | Do not sell/share my information